RPG Maker is a powerful and accessible game development tool that allows aspiring developers to bring their imaginative worlds to life. Whether you’re a seasoned programmer or a beginner with no coding experience, RPG Maker provides a user-friendly interface that empowers you to create your own role-playing games (RPGs). In this expert article, we will guide you through the process of making a game in RPG Maker, from initial concept to a playable and engaging experience.
Planning and Conceptualization
Before diving into the development process, it’s crucial to plan and conceptualize your game. Consider the following steps:
Define the Game Concept
Determine the theme, story, characters, and gameplay mechanics you want to incorporate. Sketch out an outline of your game’s world and its core elements.
Design the Game Mechanics
Think about the battle system, character progression, item usage, and any unique mechanics you want to implement. Consider how these elements will interact with your story and gameplay.
Create a Development Schedule
Set milestones and deadlines for completing different aspects of your game. This helps keep your project organized and ensures steady progress.
Getting Started with RPG Maker
Once you have a solid game concept in mind, it’s time to get started with RPG Maker. Follow these steps to kickstart your development process:
Choose the Right Version of RPG Maker
RPG Maker has various versions available (e.g., RPG Maker MV, RPG Maker MZ). Select the one that best suits your needs and preferences.
RPG Maker MV and RPG Maker MZ are two popular versions of the RPG Maker software, both developed by Enterbrain. While they share a similar purpose of facilitating game development, there are significant differences between the two versions. Let’s delve into the variations and enhancements offered by RPG Maker MV and RPG Maker MZ.
Engine and Performance:
RPG Maker MV was built on the HTML5 framework, which allowed for cross-platform compatibility, including Windows, Mac, Linux, and mobile devices. However, this also resulted in performance limitations, especially when handling larger projects or resource-intensive games.
RPG Maker MZ, on the other hand, introduced a new engine based on a JavaScript framework. This engine improves overall performance, providing smoother gameplay experiences and reducing resource constraints. With better optimization and performance, RPG Maker MZ enables developers to create more ambitious and visually stunning games.
User Interface and Ease of Use:
Both RPG Maker MV and RPG Maker MZ feature user-friendly interfaces, making game development accessible to users with varying levels of programming experience. However, RPG Maker MZ introduced several enhancements and refinements to the user interface, making it more intuitive and efficient to navigate.
RPG Maker MZ features an improved map editor with enhanced tools for creating and manipulating maps, making it easier to design intricate and detailed game worlds. Additionally, RPG Maker MZ introduced a “Plugin Manager” that simplifies the process of adding custom functionality to the game through the use of plugins. This improvement streamlines the integration of additional features and allows for greater customization without extensive coding knowledge.
Character Generator and Assets:
Both RPG Maker MV and RPG Maker MZ provide built-in character generators that enable developers to create custom character sprites and assets. However, RPG Maker MZ expanded upon the existing character generator in MV, offering more options for character customization, including a wider range of clothing, accessories, and poses. This enhancement provides developers with greater flexibility in designing unique and diverse characters for their games.
Additionally, RPG Maker MZ introduced a new “Tileset System” that allows for more efficient organization and management of tilesets. This feature simplifies the process of creating visually appealing maps by providing a comprehensive library of pre-made tiles and tilesets for different environments.
Enhanced Event System and Features:
RPG Maker MZ introduced several notable enhancements to the event system, expanding the capabilities and possibilities for game design. Some of the new features and improvements include:
a. Effekseer Integration: RPG Maker MZ integrates Effekseer, a powerful particle effects editor, allowing developers to create stunning visual effects and animations for various in-game events.
b. Advanced Layer Control: RPG Maker MZ introduced a layer system that enables developers to manipulate multiple layers within the game environment. This enhancement provides more control over visual elements, allowing for dynamic and engaging map designs.
c. Dynamic Lighting and Shadows: RPG Maker MZ introduced a lighting system that allows developers to incorporate dynamic lighting and shadows into their games. This feature adds depth and atmosphere to the game’s visuals, enhancing the overall immersion.
d. Plugin Compatibility: RPG Maker MZ offers improved compatibility with plugins, making it easier to extend the functionality of the game. The new Plugin Manager simplifies the process of adding, configuring, and managing plugins.
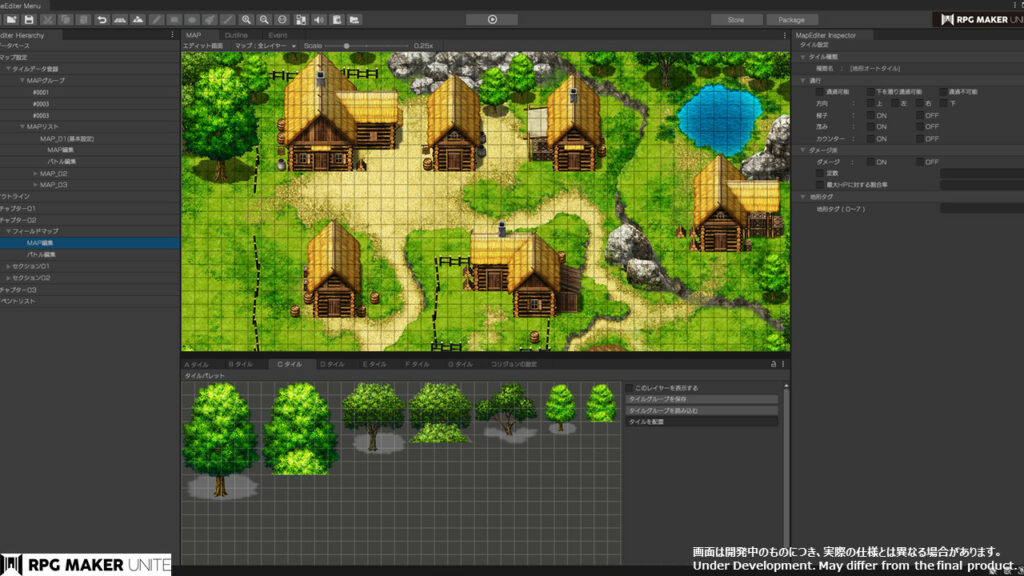
RPG Maker Unite – the newest version on Steam
This year another RPG Maker will have its premiere on Steam. The release date of RPG Maker Unite is still unknown, however, it’s said capabilities are worth looking at. We don’t know the price yet, however, for any Indie game makers it might have been a cost to obtain the newest version of the Unity and RPG Maker mashup.
RPG Maker Unite offers new and easy to use (ane also codeless) system with enhances map editor, versatile database system and usage of Unity Editor game engine.
Will it be a great success over its older versions? We will see.
Familiarize Yourself with the Interface
Spend time exploring the RPG Maker interface, including the map editor, event editor, and database. Understand how these components work together to create your game.
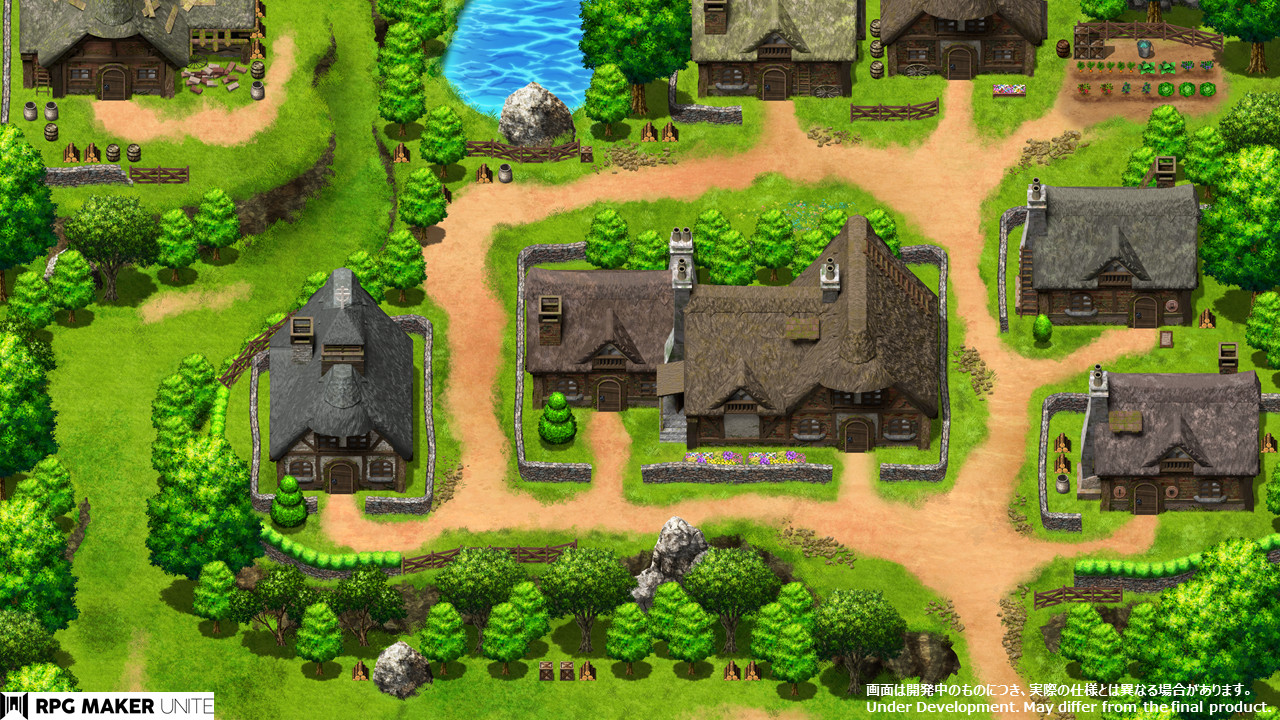
Create the World: Begin by designing the world and its various locations using the map editor. Define the terrain, add landmarks, and create detailed maps that reflect your game’s atmosphere.
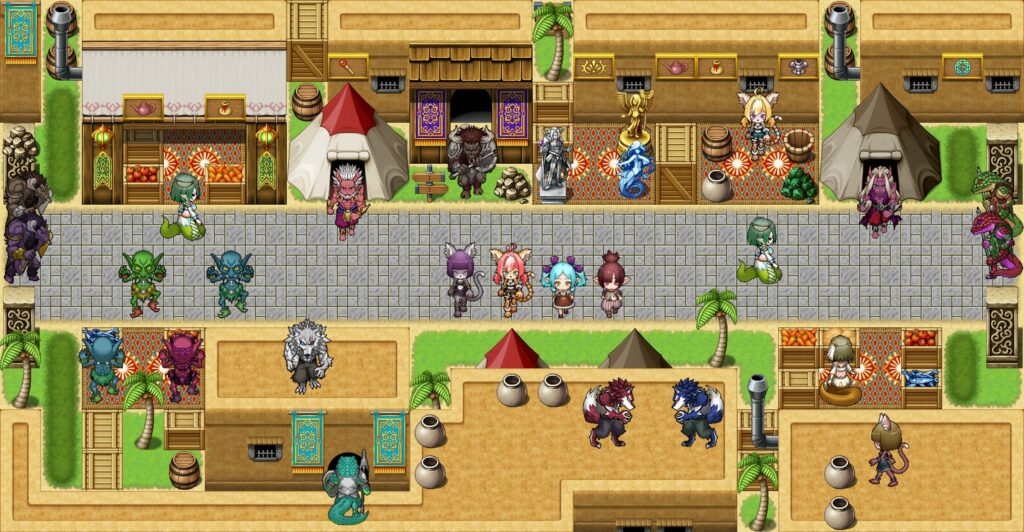
Develop Characters and Assets: Use RPG Maker’s built-in character generator or create custom character sprites and assets to suit your game’s style. Pay attention to visual consistency and ensure your assets align with the overall aesthetic.
Source: RPGMaker Twitter
Construct the Story and Dialogue: Utilize the event editor to create interactive dialogue sequences, cutscenes, and story events. Script the dialogues, plot progression, and any branching paths to engage your players.
Implementing Gameplay Elements
To make your game enjoyable and engaging, consider incorporating the following gameplay elements:
a. Battle System: Customize the combat mechanics, including turn-based battles, skill systems, enemy AI, and character attributes. Balance the difficulty to provide challenging yet rewarding encounters.
b. Character Progression: Develop a system that allows players to level up, gain new abilities, and acquire equipment. Determine the mechanics for character growth and skill acquisition.
c. Quests and Side Content: Design a variety of quests, side quests, and optional content to enhance the player’s experience. Implement rewards and incentives to encourage exploration and completion of these tasks.
d. Items and Inventory Management: Create a range of items, weapons, and equipment for players to collect and manage. Establish rules for item usage, storage, and trading within your game.
Polishing Your Game
To create a professional and polished game, don’t forget these essential steps:
a. Playtesting and Balancing: Continuously playtest your game to identify bugs, glitches, and balance issues. Adjust gameplay mechanics, encounter rates, and enemy difficulty to ensure a smooth and fair experience.
b. Audio and Visual Enhancements: Use appropriate sound effects, background music, and visuals to enhance the overall atmosphere. Consider utilizing RPG Maker’s resources or incorporating custom assets.
c. User Interface and Menus: Customize the user interface (UI) and menus to provide a seamless and intuitive experience for players. Ensure that navigation and interaction with in-game menus are smooth and user-friendly.
d. Debugging and Quality Assurance: Conduct thorough testing to eliminate any remaining bugs, inconsistencies, or gameplay issues. Pay attention to details, such as spelling and grammar errors, to maintain a professional presentation.
Creating a game in RPG Maker allows you to transform your ideas into immersive and interactive experiences. With careful planning, creative design, and the effective implementation of gameplay elements, you can craft a captivating RPG that engages players and brings your vision to life. Remember to constantly iterate and improve upon your game, and most importantly, have fun throughout the process. Happy game-making!


One thought on “A Comprehensive Guide: How to Create a Game in RPG Maker”